


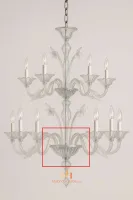
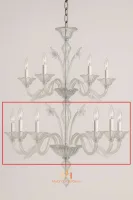
How to Mount Your Two Tiers Murano Glass Chandelier
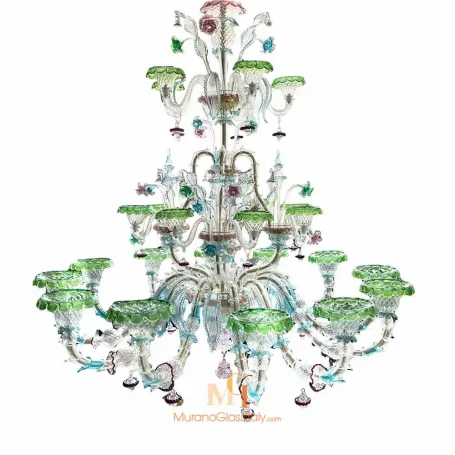
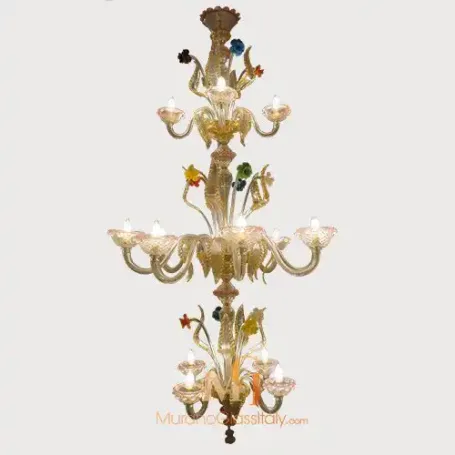
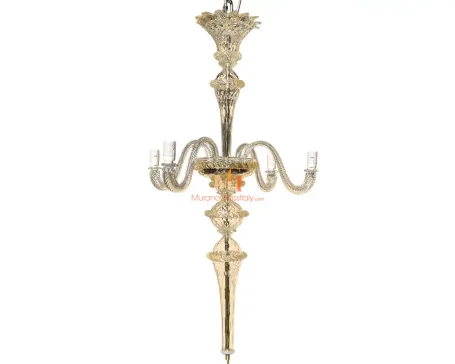
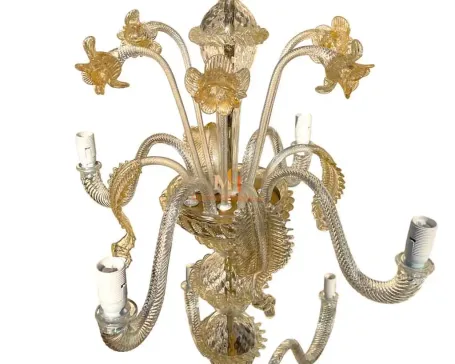
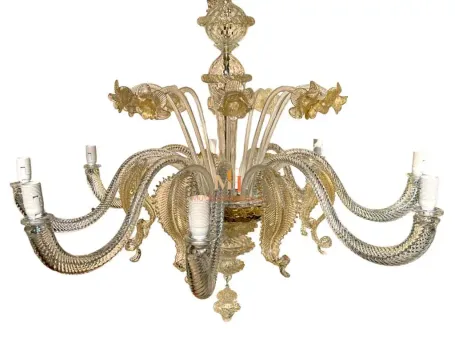
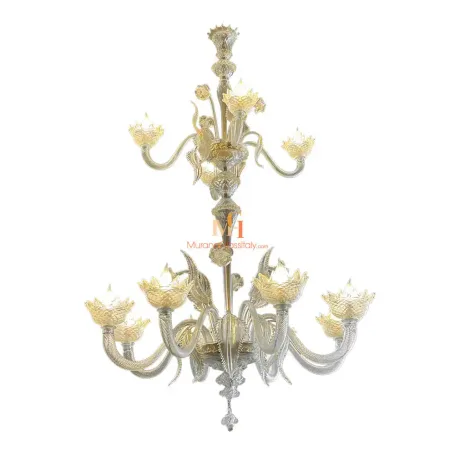
There is nothing more breathtaking than a grand Murano glass chandelier with two tiers. A true statement of Venetian artistry, its graceful design and cascading light transform any room into a masterpiece. Whether lit or unlit, a two-tier Murano chandelier enchants the space, adding timeless elegance and charm.
In this guide, we will walk you step by step through the chandelier assembly and installation process for an 8+4 Murano chandelier—that is, a chandelier with eight arms on the first tier (lower level) and four arms on the second tier (upper level). While the process may seem complex at first, following these clear and simple instructions will allow you to successfully mount your chandelier and enjoy its beauty for years to come.
This guide applies specifically to 8+4 two-tier Murano chandeliers, but the process is similar for larger models.
1. Unboxing
Each Murano chandelier is a handcrafted masterpiece of high value.
When you receive your chandelier:
Handle each component with great care.
Our chandeliers are shipped disassembled; unpack each piece gently.
Some decorative elements may be vacuum-packed. In that case:
- Cut along the outer edges of the package carefully.
- Remove the transparent protective film gently.
⚠️ Do not tear or pull open the vacuum package, as this can damage the glass.
Arrange all components on a large, flat surface and verify that all pieces are intact.
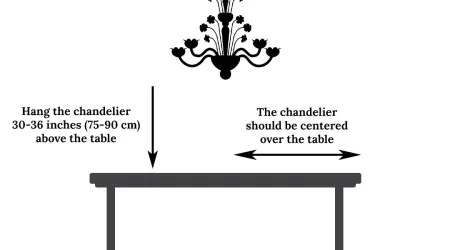
2. Preparing the Ceiling Cup
Determine the desired hanging height of your chandelier.
Connect the chain to the ceiling cup according to your required suspension length.
Ensure the chain is securely fastened before proceeding.
3. Assembling the Central Column
Identify the glass crown and the glass column.
Insert these elements through the first metal tube as shown in the photo.
Fix them in place using the washers provided.
Hang the pre-assembled central column onto the chain.
Screw the hook at the top firmly into the end of the metal tube visible above the crown.
? Tip: Do not overtighten washers—excessive pressure can cause stress fractures in the glass.
This prevents damage during Chandelier Assembly and Installation.


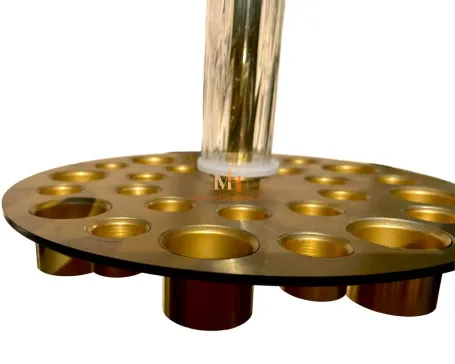
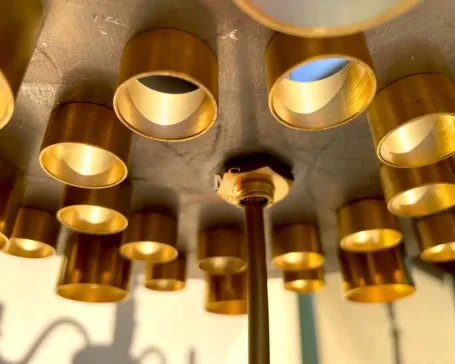
4. Installing the Second-Tier Metal Disc
Mount the metal disc for the second tier (upper level) onto the bottom of the central column.
Fix it in place with the washer provided.
This disc will support the four upper-tier arms.


5. Installing the First-Tier Metal Bar
Secure the hex nut to the bottom of the upper-tier metal disc.
Identify the metal bar that will support the first tier (lower level).Pass the electrical cables through the bar, guiding them to exit from the side hole of the hex nut.
At this point, the cables should be visible from both ends.

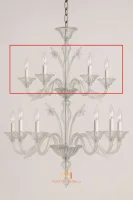
6. Mounting the Upper-Tier Arms
Insert each upper-tier arm into the holes of the second-tier metal disc.
For each arm:
– Insert the electrical cable first.
– Then insert the glass arm into its slot.
The arms are designed to fit perfectly into the metal base and remain balanced without screws. Space the arms evenly for a symmetrical look.

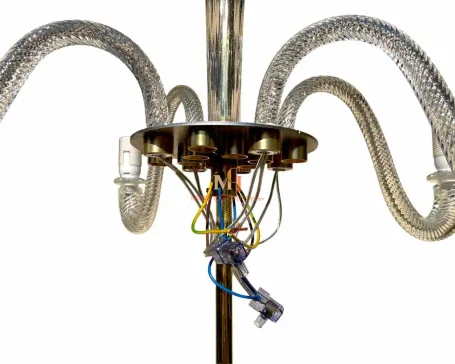
7. Electrical Connections – Upper Tier
⚠️ Important Safety Notice
For your safety and to ensure proper installation, we strongly recommend having the chandelier installed by a qualified, certified electrician.
MuranoGlassItaly cannot be held responsible or liable for any damages, malfunctions, injuries, or improper wiring resulting from incorrect installation.
Connect the electrical wires from the upper-tier arms to the main cables exiting the central column.
Each arm has two wires: one for the live connection and one for the neutral connection.
Group the Live Wires
– Take one wire from each of the 4 arms (usually the same color) and group them together.
– Secure this group temporarily with electrical tape to keep them organized.
Group the Neutral Wires
– Take the remaining 4 wires (the other color from each arm) and group them separately.
– Secure this group with electrical tape as well.
Connect to the Main Cables
For the first group of 4 wires, add the main blue wire (neutral) coming from the central column and connect them all together using the provided plastic connector cup.
For the second group of 4 wires, add the main brown wire (live) and connect them all together using another plastic connector cup.
Ensure that each connection is tight, properly inserted, and well-insulated.
Attach the Ground Wire
connect the yellow ground wire from the chandelier frame to the dedicated ground terminal using the provided screw or terminal block. Proper grounding is essential in Chandelier Assembly and Installation.
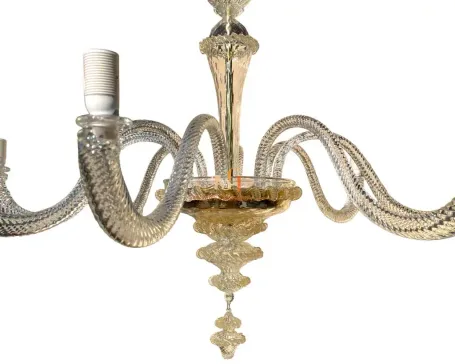
8. Installing the Decorative Base & Lower Column
Identify the following elements:
• Metal base
• Decorative glass base
• Glass olive
• Second glass column
Slide the metal base and decorative base through the metal rod.
Add the olive and the second central glass column as shown.
Fix the second column in place with the washer provided.
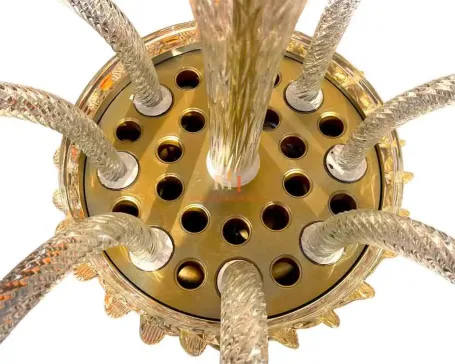
9. Mounting the First-Tier Metal Disc
Install the metal disc for the first tier (lower level).
Secure it using the provided washers.
This disc will hold the eight lower-tier arms.

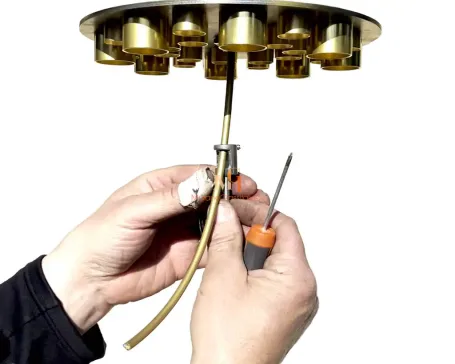
10. Securing the Electrical Cables
Pass the hex nut through the main electrical cable.
Fix it to the metal tube exiting from the disc and tighten using a screwdriver.
Ensure the cable exits neatly through the side hole.
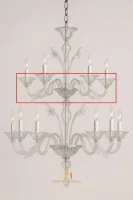
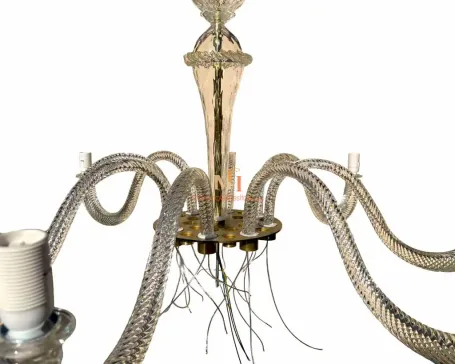
11. Mounting the Lower-Tier Arms
Insert each lower-tier arm into the holes of the first-tier metal disc.
For each arm:
– Insert the cable first.
– Then insert the glass arm.
Mount one arm, then mount the opposite one to maintain balance.
Adjust spacing to achieve perfect symmetry.
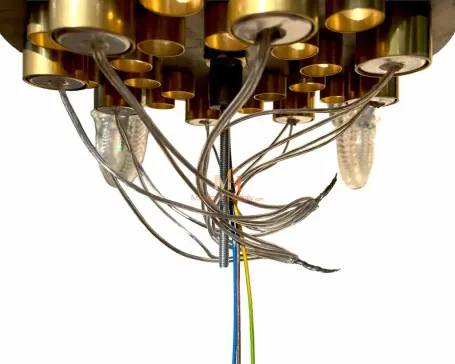
12. Electrical Connections – First Tier
⚠️ Important Safety Notice
For your safety and to ensure proper installation, we strongly recommend having the chandelier installed by a qualified, certified electrician.
MuranoGlassItaly cannot be held responsible or liable for any damages, malfunctions, injuries, or improper wiring resulting from incorrect installation.
Connect the electrical wires from the lower-tier arms to the main circuit.
Each arm has two wires: one for the live connection and one for the neutral connection.
– Group the Live Wires
Take one wire from each of the 8 arms (usually the same color) and group them together.
Secure this group temporarily with electrical tape to keep them organized.
– Group the Neutral Wires
Take the remaining 8 wires (the other color from each arm) and group them separately.
Secure this group with electrical tape as well.
– Connect to the Main Circuit For the first group of 8 wires, add the main blue wire (neutral) coming from the central column and connect them all together using the provided plastic connector cup. For the second group of 8 wires, add the main brown wire (live) and connect them all together with another plastic connector cup. Make sure each connection is tight and properly insulated.
– Attach the Ground Wire
Finally, connect the yellow ground wire from the chandelier frame to the dedicated ground terminal using the provided screw or terminal block. Safe wiring practices are critical to Chandelier Assembly and Installation.
13. Installing the Decorative Base
Mount the metal base and the decorative glass base to cover the arm plate and hide the cables.
Screw the final decorative glass element onto the tube exiting from the base.
? Tip: Do not overtighten—leave the glass free of tension.
14. Adding Flowers, Leaves, and Cups – Upper Tier
On the upper tier, install the decorative elements in the following order:
– Flowers: place them around the central column.
– Leaves: position them between the arms for symmetry.
– Glass cups: rest them gently on top of each arm.
– Gold candle sleeves: slide or screw them onto the bulb holders inside the glass cups; these sleeves cover the bulb sockets and add an elegant decorative touch.
Adjust elements for visual balance.
15. Adding Flowers, Leaves, and Cups – Lower Tier
Repeat the same process for the first tier by installing the decorative element: flowers, leaves, cups and gold candle sleeves.
Adjust everything carefully for symmetry and aesthetics.
Spare decorative elements, such as an extra flower or leaf, are typically included for replacements if needed.
16. Final Touche
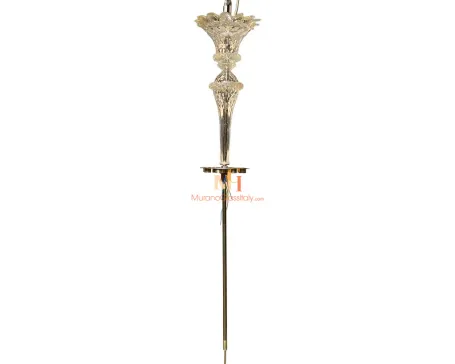
Install the final decorative piece (finale or finalino) by carefully screwing it onto the decorative glass base to complete the chandelier assembly.
Finally, check that all elements are properly aligned and visually balanced.
At this point, your Chandelier Assembly and Installation is complete.

Congratulations! Your Murano chandelier is fully assembled. Step back and admire your work!
When lit, the chandelier radiates a warm, magical glow. When unlit, it remains an elegant piece of Venetian art.
Conclusion
Mounting a two-tier Murano chandelier may seem challenging, but with patience and the right steps, it becomes a rewarding experience. You have now completed the chandelier assembly and installation of a piece of Venetian history—an artwork created by Murano’s master glassmakers. Whether illuminated or not, your chandelier will remain a stunning centerpiece, a testament to Italian craftsmanship and timeless elegance.
Enjoy your Murano masterpiece—it was made to be admired.
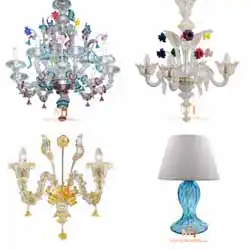
And if this beautiful creation has inspired you to enrich your home with another extraordinary lighting piece, we invite you to explore our exclusive collection of authentic Murano glass chandeliers. Each one is a timeless masterpiece, handcrafted in Venice with the same passion and artistry:
Classic Chandeliers
Immerse yourself in Venetian tradition with intricate floral details and graceful silhouettes.


Modern Chandeliers
Contemporary elegance meets centuries-old Murano craftsmanship.

Luxury Chandeliers
Opulent designs featuring 24k gold, rich colors, and breathtaking artistry.