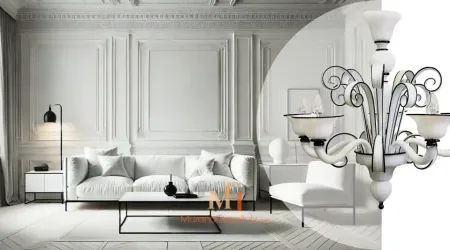
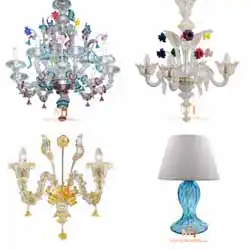


A Murano glass candelabra is not just a lighting fixture — it’s a piece of Venetian artistry that captures the centuries-old tradition of Murano glassmaking. If you’re preparing to Mount a Murano Glass Candelabra, this guide will help you do it safely and beautifully. Each element, from the hand-blown arms to the delicate flowers and leaves, is shaped by skilled artisans and meant to bring timeless elegance into your home.
To ensure that your candelabra is assembled safely and beautifully, follow our simple, step-by-step guide below.
⚠️ Safety Notes Before You Mount a Murano Glass Candelabra
Murano glass is both precious and delicate. Please take care during every step of the assembly process.
- Handle all glass components gently and place them on a soft surface while assembling.
- We recommend wearing cotton gloves to protect the glass from fingerprints and to improve grip.
- Do not overtighten any screws or fittings — gentle precision is key.
- If electrical installation or hardwiring is required, always consult a licensed electrician to ensure a safe setup.
Step 1 – Assemble the Central Column
Begin by placing the base of the candelabra on a flat, stable surface.
Insert the vertical central column onto the base and secure it carefully. Before continuing, check that the column stands perfectly upright and steady — this provides the foundation for the rest of the piece.
Step 2 – Attach the Arms and Connect the Wiring
Next, attach the glass arms of the candelabra.
Each arm fits neatly into a slot on the metal disk at the top of the central column. Gently insert each arm, one at a time.
Once all the arms are in place, proceed with the electrical connections, matching the wires by color. Ensure that all wiring is properly secured and neatly positioned inside the metal disk before moving forward.
Step 3 – Install the Glass Bowl
Now, take the Murano glass bowl and position it beneath the metal disk.
Lift it carefully into place and mount it onto the central column. Make sure it is perfectly aligned and firmly seated — this adds both structural stability and visual harmony to your candelabra.
Step 4 – Fit the Glass Lampshades
Place a glass lampshade over each arm.
Secure it by fastening the metal cup on top of the shade, turning gently until the shade feels stable and well-balanced.
Avoid overtightening to protect the glass from unnecessary pressure — remember, a light touch goes a long way.
Step 5 – Add the Decorative Elements
Now comes the most charming part — decorating your candelabra.
Insert the glass leaves and flowers into their designated slots around the metal disk. These small, handcrafted elements are what give each Murano candelabra its unique character.
Finally, attach the central decorative piece, which completes the composition. Step back and take a moment to admire the balance — adjust the elements as needed so that all the decorations are evenly arranged and secure.
Final Step – Add the Bulbs and Test Your Candelabra
Screw in the bulbs, taking care not to overtighten them.
Once everything is in place, switch on the power to test your beautiful creation.
✨ Your Murano glass candelabra is now fully assembled and ready to illuminate your space with Italian elegance.
A Few Final Tips
- Always clean your Murano glass with a soft, dry cloth. Avoid using harsh cleaners or sprays.
- When moving or cleaning your candelabra, support the arms and glass parts to prevent strain on any single section.
- Consider using warm-white bulbs to enhance the glass’s natural glow and bring out its handmade details.
Bringing Art and Light Together
Assembling a Murano glass candelabra is more than a practical task — it’s a ritual that connects you to a centuries-old tradition of Venetian craftsmanship. Each time you light it, you’re not only brightening a room — you’re celebrating the beauty of handmade art from the island of Murano. Follow these steps to confidently Mount a Murano Glass Candelabra and celebrate the beauty of handmade Venetian art every time you light it.