How to Mount Chandelier
When glass tradition meets innovation: the modern chandelier
The modern chandelier is one of the most glamorous sources of lightning you could have in your home. If you have already purchased your chandelier or you are thinking to renovate your room, we at MuranoGlassItaly will introduce you to our world of modern lightning and we will also explain how to mount chandelier at home!
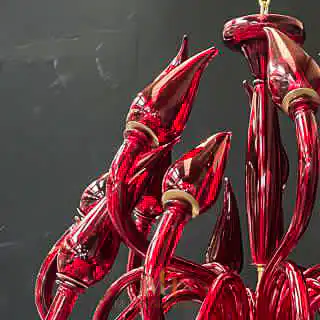
Distinctive for both bright colors and sinuous lines, a modern chandelier is not only functional to enlighten your room, but it is also aesthetically pleasing. It will refresh and renovate your space, adding a touch of style and personality to your home.
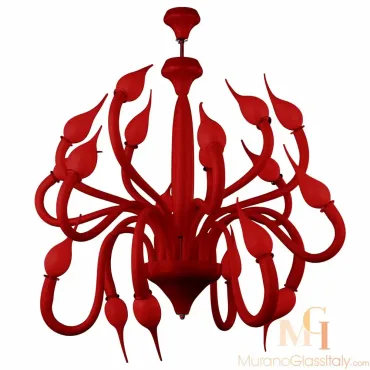
By combining the tradition of Murano glass with contemporary styles and designs, our venetian artisans create chandeliers of rare beauty. The classic lines and silhouette are reinterpreted to meet the modern charm. Excellent craftsmanship and attention to detail make each chandelier a masterpiece of art and elegance. Get inspired by the sophisticated Italian style and add a touch of brightness to your home!
If you have already received your beautiful chandelier and you don’t know where to start, our simple instructions will help you step by step to mount your artwork!
Mount Chandelier Guide – Modern Style
Follow our instructions from our experts to mount your chandelier in 10 steps.
1. Opening the box
To guarantee that the chandelier arrived safely, all our artworks are shipped disassembled. Carefully open the box and take out all the pieces. Make sure that you have removed all the contents from the package before throwing this away.
Attention: Some decorative elements might be vacuum packed. We recommend to gently cut along the outer edges of the package and carefully remove the transparent protective film. Please note that it is important not to tear tear the vacuum package as the contents might break.
Once you unboxed all the chandelier elements, carefully place them on a table and check that they are intact. You should now recognize the following decorative elements:
2. Mounting the central column of the chandelier
In order to mount the central column of the chandelier, take the following pieces: threaded metal tube, crown and column.
Pass the metal tube through the crown and column, creating the structure in the photo.
The crown and the column will be fixed through two washers screwed to the metal tube on both ends.
Please note that it is important to not screw the washers too tight, as the glass might break the over time.
Once you mounted the central column, fix the hook to the metal tube that exits from the crown. The hook has to be screwed firm.
3. Fixing the arm plate
The arm plate is the base into which the arms slot. The arm plate will be placed under the central column and it will be fixed to the metal tube using the washer.
4. Inserting the main electric cable
Insert the main electric cable through the central column and the arm plate.
Attention: When you work with electricity it is always better to be careful. We advise to get help from an electrician, if necessary.
5. Mounting the nipple
Pass the nipple through the main electric cable as shown in the photo and screw it to the metal tube with the help of a screwdriver.
6. Mounting the canopy
The canopy is a decorative element used to cover the electrical cables in the ceiling. It is also possible to hook the chandelier directly to the ceiling without mounting the canopy. This will reduce the height of the chandelier.
Pass the pin through the canopy and fix the structure with a screw.
The chain or the metal bar will then be attached to the canopy and connected to the main column.
7. Hanging the central column
Once mounted both the central column and the canopy, hook the central column up to the chain attached to the canopy. The chain might also be a metal bar. In the case of Eroico chandelier, you will have the following decorative elements: canopy, metal bar and crown.
Attention: Please note that the canopy and the crown are really similar, therefore it’s important to recognize and assembly the two pieces correctly when mounting the chandelier.
8. Adding the chandelier arms
Slot each arm into the metal base. Please note that the arms don’t need to be screwed as they are made to fit the metal base.
During this step it is also important to adjust the distance between arms.
After placed the arms, connect the electric wires of the arms to the cables that exit from the central body.
Attention: During this step, we recommend to get help from an electrician, if necessary.
9. Placing the metal and decorative base
Fix both the metal base and the decorative base to the arm plate as shown in the picture. The metal base and the decorative base will cover the electric cables.
10. Adding the chandelier cups
Your chandelier is almost complete!
Carefully screw one cup into each arm of the chandelier.
Your modern chandelier is finally complete! Let your room shine!
Useful information
A modern chandelier will not only brighten up the room, but will make your interior shine! Discover our exclusive selection and find the chandelier that meets your style.
All our creations are handcrafted by our best artisans. As such, each chandelier can be customized in color, the number of decorative elements (arms, flowers, leaves) and in size so as to adapt perfectly to your interior.